Thursday, February 28, 2013

What We're Eating: Mac N Cheese

The easy recipe that I use for Mac-N-Cheese here at the day care is pretty high on the kid lunch list.
 
We have it with just about anything.  From fish sticks to chicken nuggets to turkey burgers, it serves as a quick side dish that they love.
 
 
Easy Kiddo Mac N Cheese
Serving Size: three kids and one adult
 
1/2 cup elbow macaroni
2 pieces sandwich cheese slices
1/8 cup milk
1 tsp butter
 
Boil macaroni in water until tender, about 12 minutes, drain.  Add cheese, milk and butter and stir.


Wow... that was tough!  You can't get much easier than that! 
If your cheese doesn't melt good I would try a different kind.  I use Nice N Cheesy which is the Kroger brand of Velveeta. 
 
I also add just a dab of butter to the water when boiling to keep the macaroni from sticking to the bottom.

Wednesday, February 27, 2013

Book of the Week

Our book of the week this week is...
 
TILLIE LAYS AN EGG
 
By: Terry Golson
 
 
The kids loved when I read this book.  We have a couple of chickens here on our farm so even if they don't have them at home they are exposed to them somewhat here.  The story of Tillie Lays and Egg was just precious I thought and you just fall in love with little Tillie.  She is adventurous and seems like you would never know what to expect from her.  The faces of these kids would light up, when I would turn each page, as they hunted for the spot where Tillie had laid her egg.  So cute.
 
 
Again, Again Rating: 10
 
 
And to explain the "Again, Again Rating", when I finish reading a book during story time and at the end I say "The End", the "Again, Again Rating" comes in depending on how many times the children ask me to read it Again and  Again!


Tuesday, February 26, 2013

Spring Bulletin Board

Sometimes I change the look of our bulletin board on a monthly basis.  Sometimes I change it just because I get the hankering for something new.  Spring is always something that inspires me and today it did just that.  Plus I thought it was time to retire the little snow men. I think it is important to keep happy, brightly colored decor everywhere you look and today this one did the trick.

First, I made a bunch of clovers out of hearts on my computer and printed them out.  I gave the kids several shades of green to color the clover with.  Then during nap time I cut them out.  I had quite a lot.  Enough so that I can use them in other areas of the DC once March gets here.


Next I broke out the freezer paper and cut the length of my bulletin board.  The board is bigger than the paper so I have to cut an extra strip at the bottom.  Then I push pinned it all down. 


I did the painting part by mixing a little bit of water with light blue for the sky and three shades of green paint with water for the grass.  I was worried about the grass because while I was painting the lines of grass I felt I should have painted a green background first, but nap time is only so long so I proceeded to paint.  Each of my strokes of paint seemed to fill in more and more until I was happy with the result. 


For the buttercups I simply folded a piece of yellow construction paper in half and drew pointed ovals then cut them out.  The paper had been colored on before on one side.  Personally I think it adds to the glamour of a kid's world. 

When the paint was (semi) dry I used Modge Podge glue to put them in place and added a yellow cupcake liner for the center of the flower.  I also used the glue to affix the cut out clover in the grass. 


Lastly, I had to add some glitter glue stems to the clover, pink glitter blobs here and there for clover blooms and gold glitter glue for the flower centers.  It seems a bit sloppy but looks great and adds a piece of Spring to our play room.
Friday, February 22, 2013

Little Table Re-Do

This little table came from my Mom's house.  She has had it as long as I can remember.  Sadly, I did not take a picture of her lovely version of covering this table.  She had covered it in a country blue and pink tablecloth with a sweet ruffle all the way around.  The table had been stored in my parent's garage where for years my Dad has done wood working.  Needless to say it had some serious saw dust buried in the ruffle so it was best I took it apart outside.  What you see first is the before...before picture... before her redo.

I chose a vinyl table cloth that I bought on clearance for one dollar the the Wal-Mart a little while back.  I adore the cowboy theme it has.  I left the original "before" table the way it was and simply covered it with the new tablecloth.  I like using vinyl, picnic type tablecloths because it wipes easily when crayon marks and spills happen.  I laid out the tablecloth on the floor, print side down and turned my table upside down on top of it.  Next I came out about four inches all the way around and traced the shape of the table and cut it out.  Then I used a handy dandy staple gun and pulled and folded and stapled underneath the table to get it tight and cut away any excess.  Lastly I hammered in detail upholstery nails all the way around the edge just for looks and just because I already had them.  It turned out precious and fit in perfectly with the rest of the modge podge decor. 

Looks like she paid two dollars for it at some time.  Nice duct tape!

This table has a good wooden frame for stapling to.

Yee Ha!

Tacks in place.

Cute as a button.

I saved some of this tablecloth and made a matching changing table cover.  Also easy to wipe off!

Thursday, February 21, 2013

Kiddo Turkey Steaks

This is my recipe for a meat dish that these kids love.  And by love I mean it is gone quickly and they ask for more!  It is a simple Salisbury Steak type recipe that only takes a few ingredients and very little time.

Turkey Steaks

1 pound ground turkey
1 egg
1 small onion chopped (or a teaspoon of onion soup mix, or minced onion)
1 beef bullion cube (or 1 teaspoon granules) dissolved in 3/4 cup water

Mix turkey, egg and onion.  Sometimes I do this ahead of time and keep it in the refrigerator.  Shape into patties and brown over high heat in skillet, drain off any fat.  Pour in bullion and simmer uncovered for 5-6 minutes, turning patties to soak up some juice. 

That's it!  Next to turkey dogs, this is the favorite meat at the day care.  Shaun doesn't think it's bad either.  I usually have meat left over that I take home for supper.  So it's a win win for me!

I had actually mixed in some sausage too today.  It is very forgiving.

I heat the water to help the bullion dissolve better.

Turn once or twice.  If the juice cooks too long it will cook down.
 
 Got to love that Monsters Inc mac-n-cheese!  I'm more of a Spongebob MNC myself.
 
 Not an unclean plate in the house!

 Dig those sweet incentives!  Chopped apple with rainbow sprinkles.

Wednesday, February 20, 2013

Starting Letters

Tracing is a good way to help kids learn to draw straight lines.  Straight lines that lead to letters.  I took out the children's journals this morning and turned to the first available page.  I used a ruler and made the letter A with broken lines.  Then drew a picture or two of items whose names begin with the letter A. 

Some scribbled on the page.  Some colored in the pictures.  But as I instructed what to do I was proud that the kids traced the lines of the letter as best they could.  Then I asked them to make their own letter A on the blank page to the left.  They gave it a good shot and I thought this little exercise turned out great.  A+ on this project.  There will be more letters to come!


Tuesday, February 19, 2013

Sweet Incentives

Sometimes it is difficult to get a kid to clean their plate.  Maybe there is too much on their plate or maybe it is just something they don't like or are afraid to try.  Around here, I try and keep lunches in the realm of what the kids will eat.  Pretty much bite sized foods including a meat, vegetable and fruit.  But even when there are items on their lunch trays that they like they still won't eat it all. 

Most of the time I offer a dessert after lunch.  It is usually something like sugar free jello or applesauce.  Even that sometimes doesn't work to get the plates cleared.  Until recently.

I had the idea of letting them see the dessert.  I spoon out the desserts in little cups before lunch.  Then I place them on a pretty plate, along with the spoons.  I put the dessert plate in the middle of the table, just out of reach but definitely not out of eye sight, where it can be seen throughout the entire meal as something that they want but know they have to finish lunch to get.  For the last two weeks this has worked like a charm.  I even used bananas in cups with rainbow sprinkles on top.  Something that would have normally been on their plates (minus the sprinkles) but eaten first over the green beans.

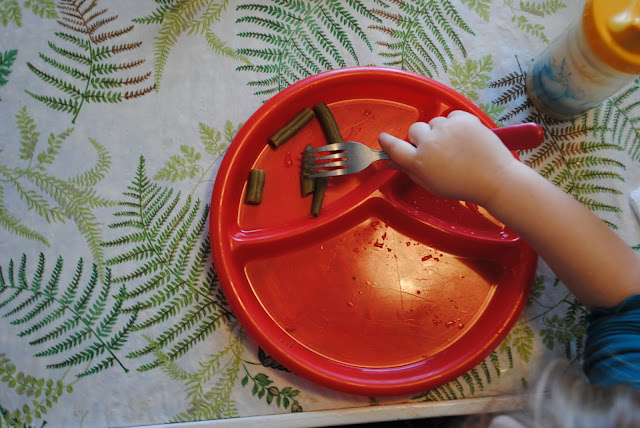
At first, I went easy on them.  "Ok, two more bites and you can have the dessert."  Still leaving food.  (By the way, I don't overload the plates to start with)  By the end of last week I still felt like I was being too easy.  So this week I got a little tougher and said "plates have to be cleared before dessert" and it still worked.  Clean plates.  Vegetables, fruit and all was gone.  Since this trick, no one has gone without the treat at the end of our meal.  They see it, they want it.

 That blue jello is just beautiful!
 Just out of reach.
 Almost done!
Aahhh, a clean plate!

Monday, February 18, 2013

Playful Interior Design

When it is nap time for the little ones it is not so much for the big kids.  Kids that are too old for naps.  But it is still tough to keep the volume down.  Putting something interesting in their hands is the best thing. 

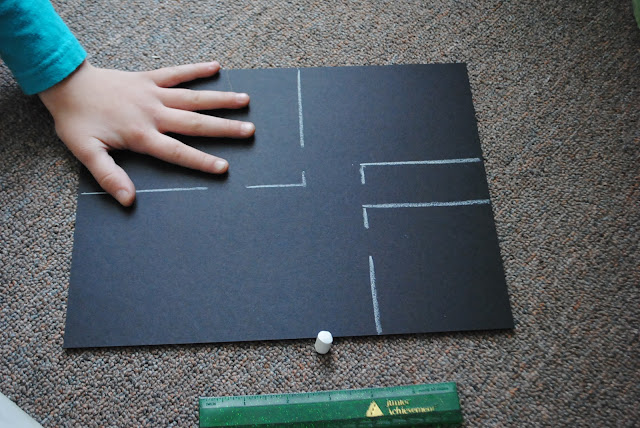
Today, we chose a little interior design lesson...  and she flew all over it.  When we are waiting for the bus I always get the mail out of the mail box from the day before.  Once a week it usually houses junk ads.  The furniture ad is always her favorite to look at.  She will go through the say "which bedroom set would you pick for your house?"  So we indulged and cut out furniture and lamps from a magazine and found patterns for rugs and tiny food for the kitchen.  We had the most fun!  We  used a ruler and drew lines for walls in the house made of a piece of card stock.  She absolutely loved doing this and went on to create the landscape and garden on another piece of card stock. 


Living room, kitchen, two bedrooms and one bath.


It looked fantastic after the glue dried.  I think she did very well with furniture placement and lighting.  She even has a computer and time out chair!  Good stuff!

Let the kid times roll

Now I've gone and done it!  I am so excited to bring you a brand new blog dedicated to the life and times of what goes on at my day care!  I plan to run a structured outfit here that includes kid friendly recipes, crafts and ideas for you to share and use with your little ones. 

To share a little bit about me.  I run a small child care center at the road front of our thirty acre farm in Tennessee, where my husband and I live.  The day care is located in a mobile home that we moved here to live in while building our house at the back of the farm.  After we moved out, we rented it out for a couple of years and finally decided that land lordship was not for us.  At the time, I was burned out and not happy with my job choice so one night Shaun suggested keeping kids full time in the trailer.  I thought it was a heavenly idea and we worked on it cleaning, repairing and getting things ready from December 2011 until I quit my job the following April.  I began with my first kids in May of 2012 and haven't stopped yet.  I love what I do and being able to watch these kids grow and aid in their learning. 

I have another blog, peppysis, where I have been sharing bits and pieces of my life since 2009.  I have gotten to where I share a lot about the day care and what we are doing.  So much that I feel a designated blog is necessary and will give readers a certain spot to look at all my kid stuff. 

Thanks for stopping by.  I hope you will just love it here!

Isn't it just dreamy?
 
This was taken before I finished painting the outside.  Before there were flowers and little rocking chairs lining the front porch.  And definitely before Black Rose got her lift kit.